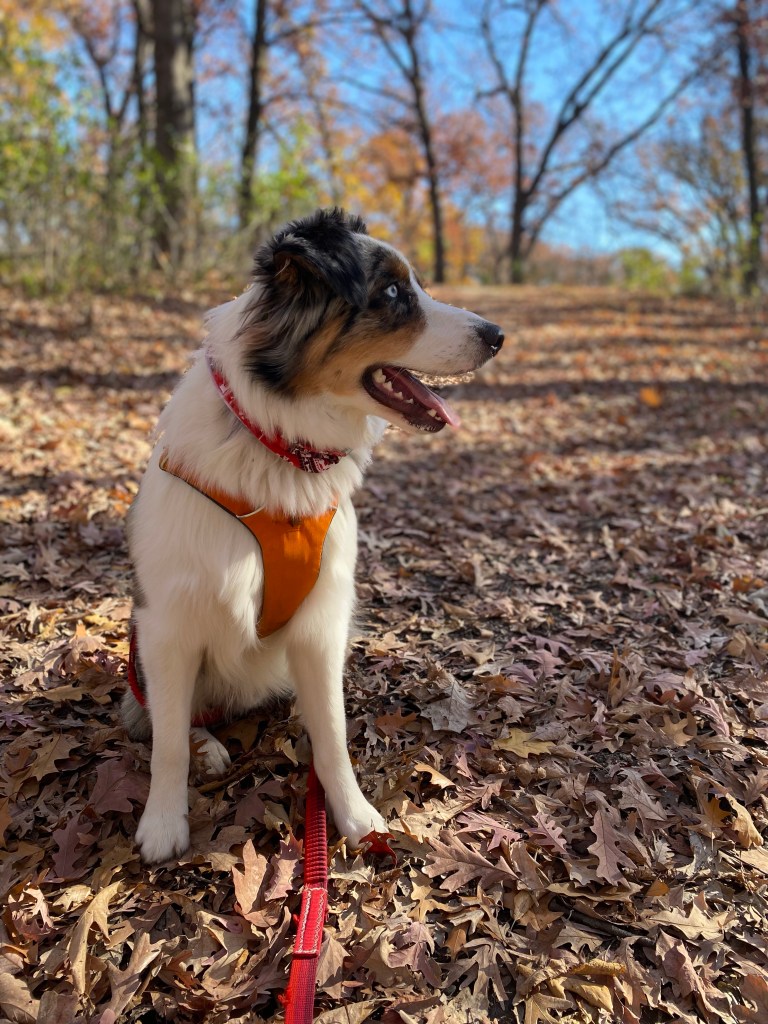
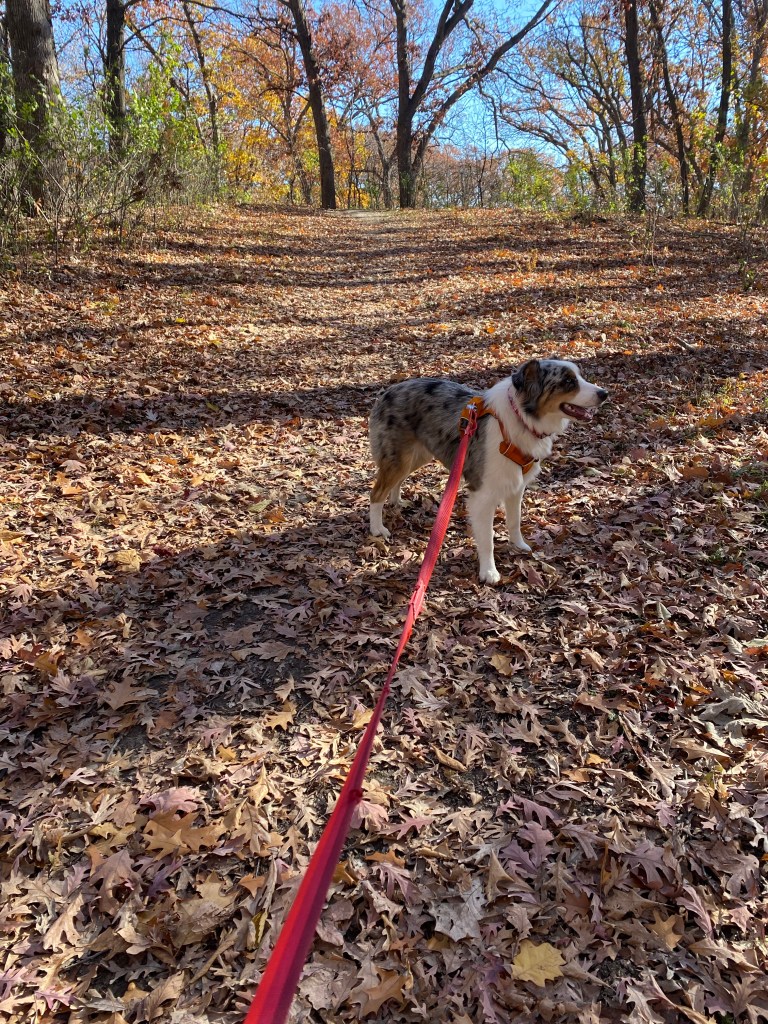
Hiking with your dog…..not new stuff here. Hitting the trails is one of my favorite ways to hang out with Sage. He gets to explore, we both get exercise….it’s a win-win.
But there can be a few hurdles. What do you do with poop? What about training? I don’t want to hold the leash…..I’ve discovered a few solutions that have worked well for us, that I wanted to pass on.
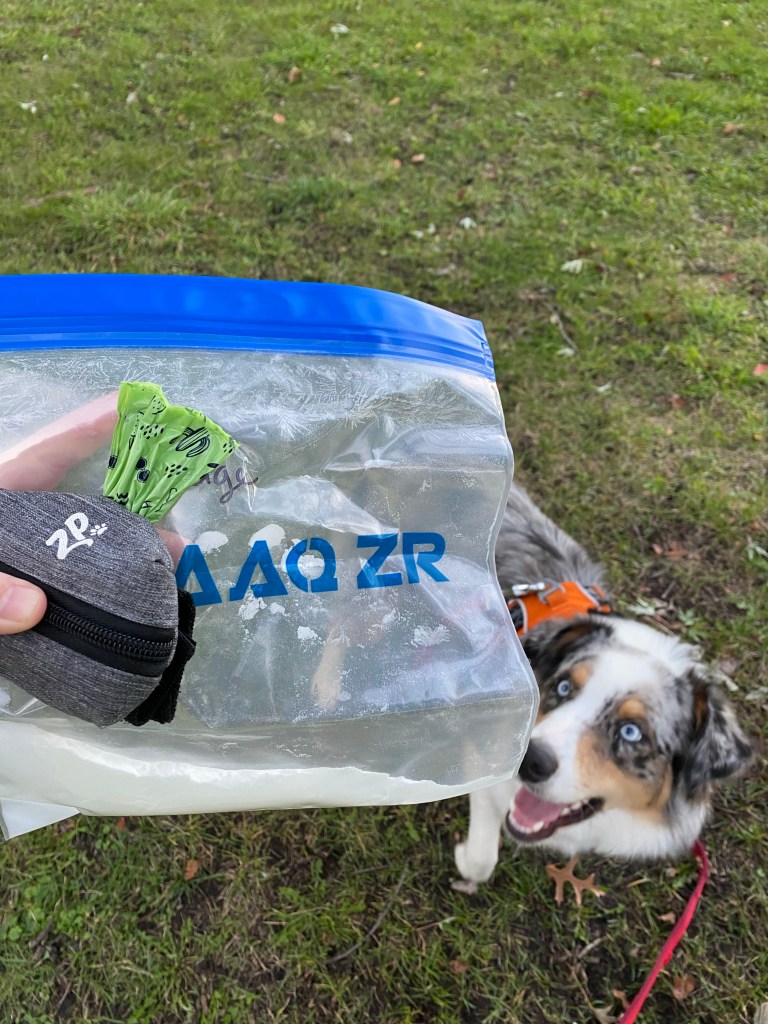
1). Get a scent proof bag. Are we all familiar with the smell proof bags you can use to protect smelly items from bears and critters??
When hiking (for the day) it’s not really appropriate to dig a hole for your dog’s waste, but if your dog does his business any distance from the trash at the trailhead, you are stuck carrying a smelly poo pouch all day. Disaster* no doubt ensues and you regret your decisions eventually if not immediately.
*read: you crush said bag, you can’t avoid the smell, you are stuck holding a warm bag of poo for hours….
I’ve used more expensive smell proof bags for backcountry travel and have found them to be pretty impressive. But some can be an investment and pretty large. I discovered an affordable 2-pack of just the right sized bags on Amazon that worked all summer. What really seals the deal? A little baking soda! If you add a little sprinkle of baking soda in the bag (you can leave it for several weeks) it will help to absorb the smell from the desposte when you carry it for hours on your hike. Bonus, the bag won’t smell terrible after either! Bonus, bonus…..the smell proof bags are pretty sturdy-I toss my baggage in a water bottle pocket and don’t think of it the rest of the hike!
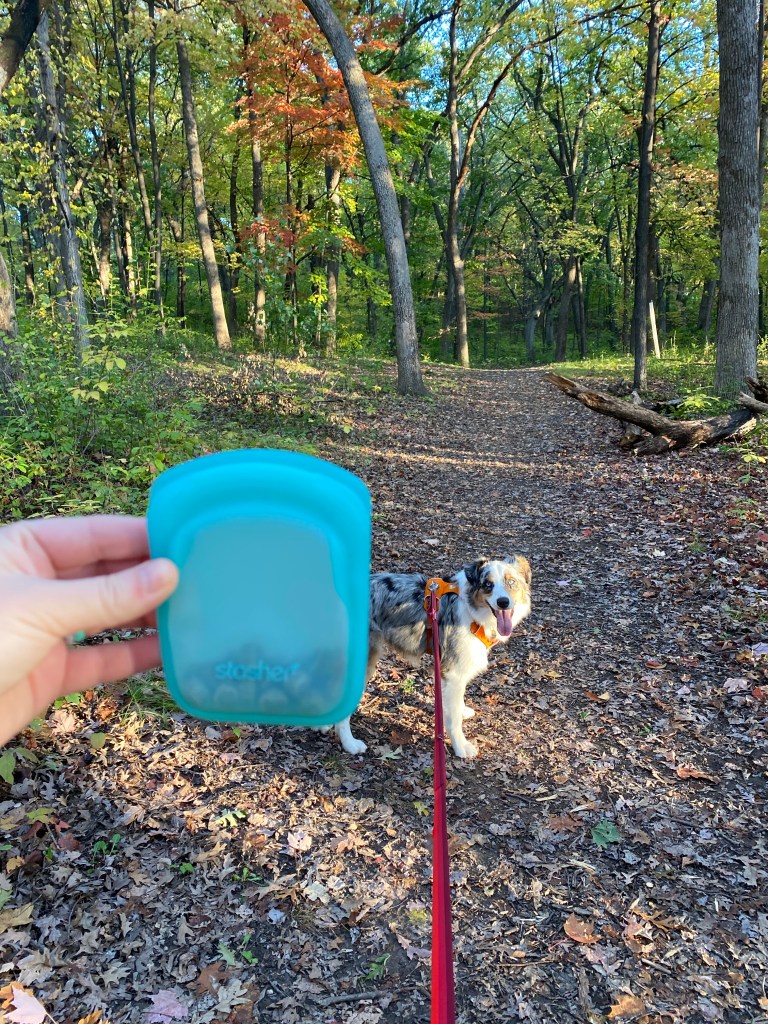
2) Stasher Bags. In our house we treat train. Sage is just over a year now and we are learning the rules of the trail, the road….all the rules. On longer or more strenuous days I like to have some snacks for him too. These ‘snack’ sized Stasher brand bags are perfect. They fit into any pocket or pack waist-belt for quick and easy deployment. And because they actually seal, treats stay fresh. I always keep a bag filled and ready to grab.
Obviously the silicone is perfect for reusing and rugged. No more shredded zip top bags and stale treats in my pockets, packs, car seats…..
Still looking for your favorite trail/training treats? Zuke’s Mini Naturals are one of our favorites. They are soft (but don’t disintegrate), only 3 cal a piece and Sage likes them. He doesn’t have to chew them forever-so we can keep on cruising!
3) Put Together a Hiking ‘Kit’. I like to have ‘kits’ ready made and for quick grab packing. This makes getting out the door much faster for me, and helps me remember the small things I don’t want to forget.
As Sage would chew on his leash, or as someone was looking for a lost dog, I’d think to myself “ugh I need to remember to put at extra leash in my bag”. As friends told me about an ingestion with their dog, but they weren’t home to administer anything to induce vomiting (peroxide) I’d think “that’s right-I wanted to keep some specific first-aid with me”.
So finally I put it together in a little kit. It’s something I toss in my pack each time Sage and I hit the trails. I do have a small first-aid that comes with me that has a few things he might need too….paw glue etc. But this kit is just for him. And it’s helped me feel much more prepared and at ease when we’re on the trail.
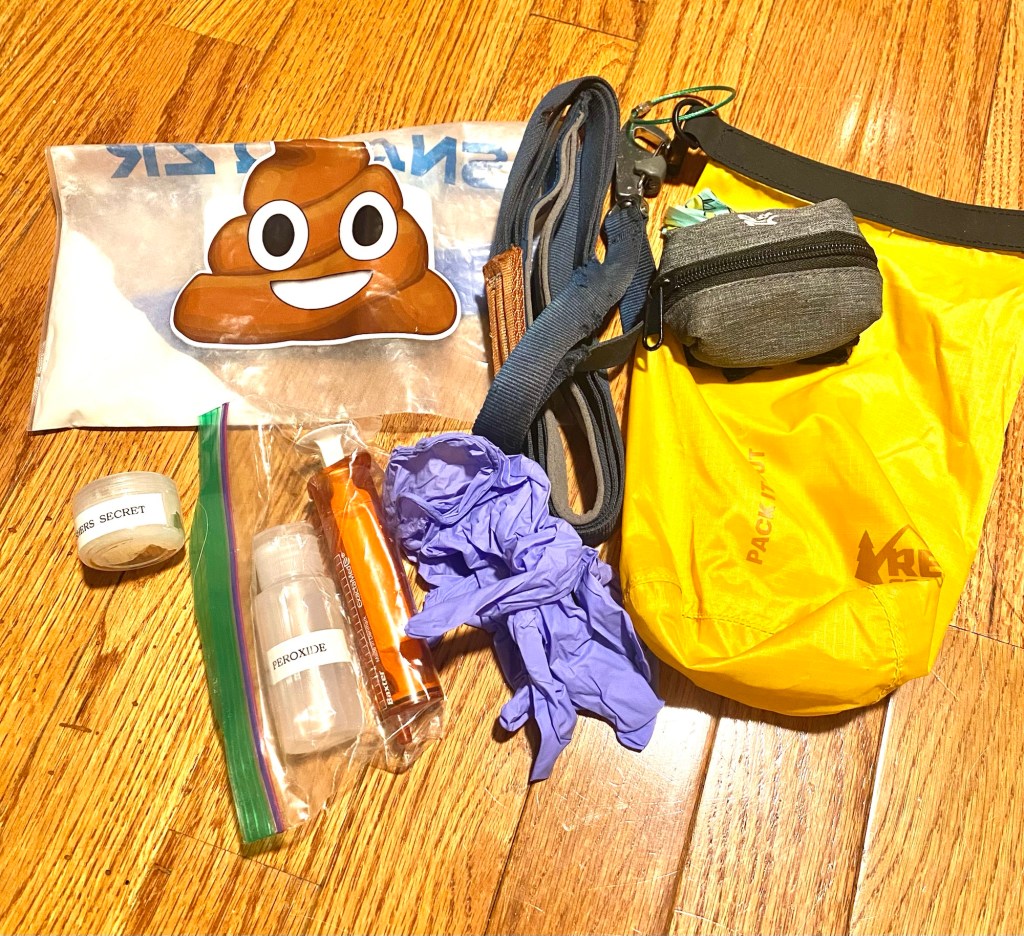
Mushers Secret is something we typically apply at the car if we think paws need some TLC. But as we stay out longer, having a small container to reapply or to tackle any hot spots while on trail was something I wanted to have on hand. It all packs into a mini stuff sac-I love these from REI, and with that we’re good to go!
What do you think? What else would you carry in a kit? What are your favorite tips for adventuring with your dog? Tell me in the comments!
